Installation Guide for Ruby® on U300
In this Installation guide we will lead you through the process of installing Ruby® on your U300. In order to install Ruby® with your U300 follow the steps below.
You can also find a quick information on how to switch between UMark and Ruby® laser software at the end of this installation guide.
1. Install UMark software
If you are using a U300 laser for the first time, install the UMark software provided with your U300 laser. Skip this step if you are already using a U300 laser with UMark.
To install UMark, run the setup program and follow the on-screen instructions.
2. Install Ruby®
When UMark is installed, Ruby® can be installed as a next step. Download the Ruby® package from our Ruby® laser software page.
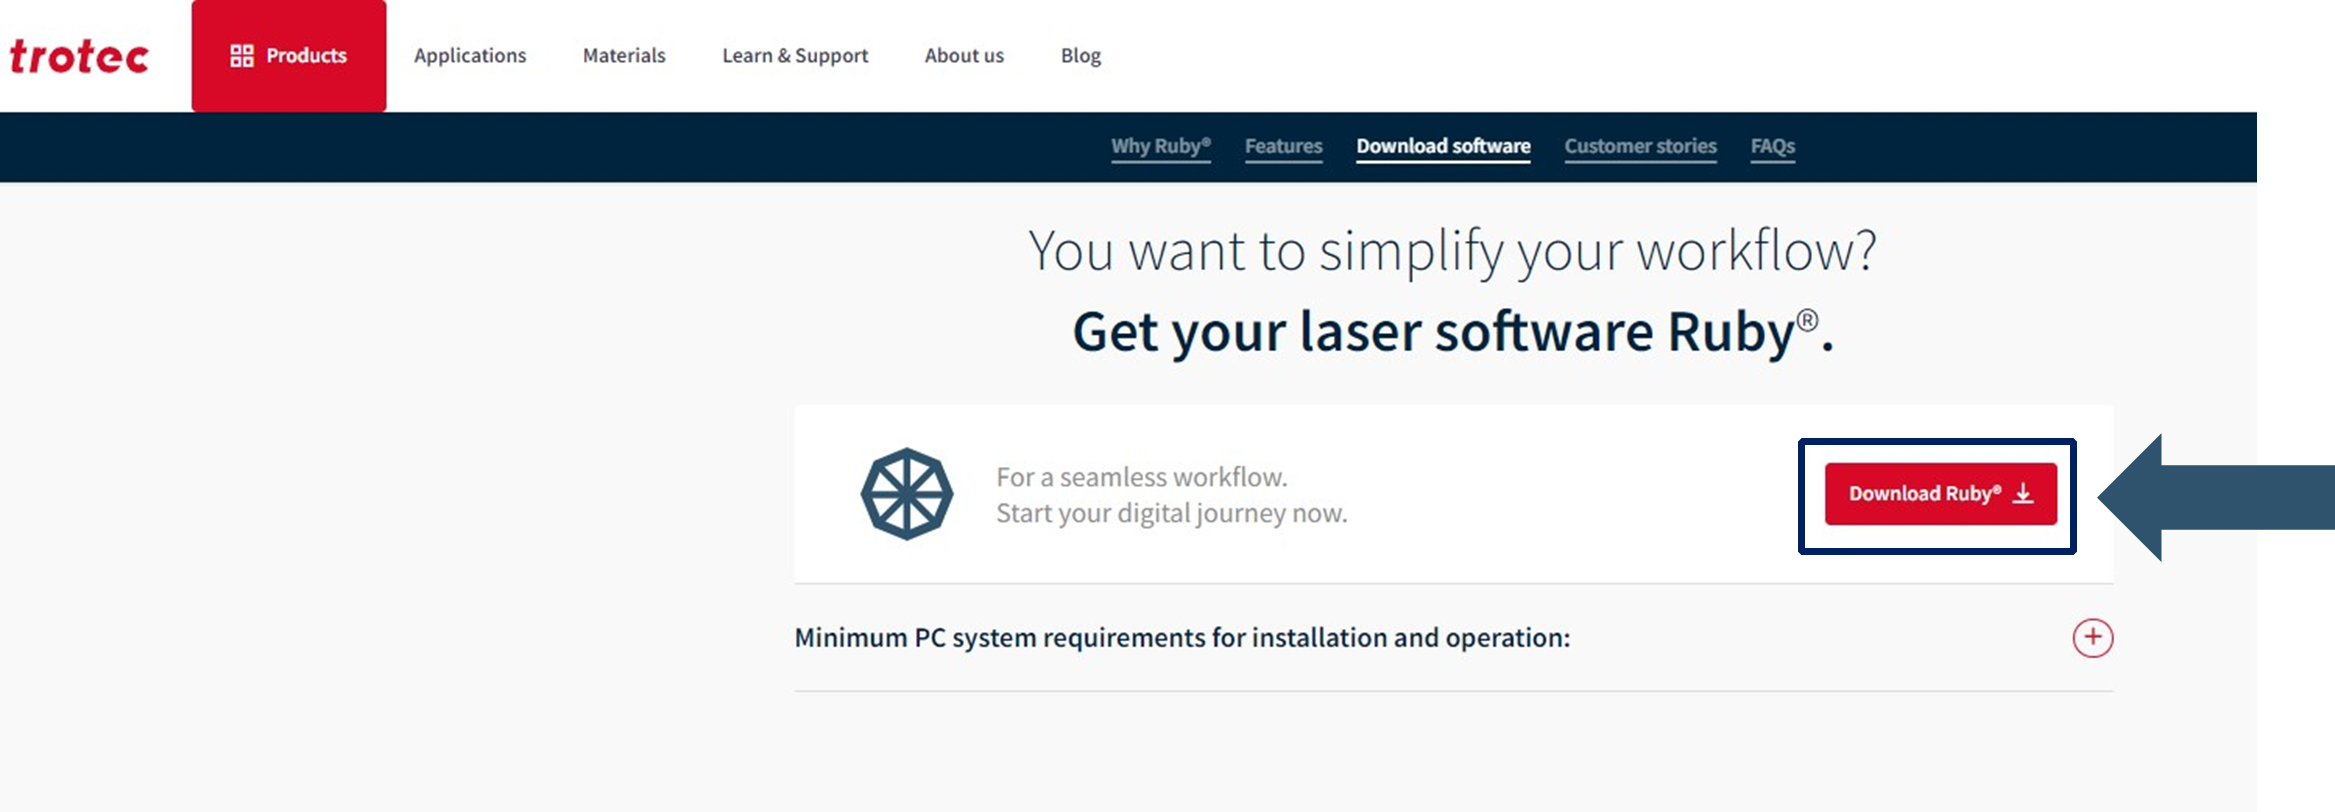
Run the Ruby® installer and follow the on-screen instructions.

A Ruby® shortcut will be created on your desktop for easy access.

3. Address security messages
Windows Defender SmartScreen message:
If you encounter a Windows Defender SmartScreen message, download the trust message following the instructions on the Ruby® help page.
Browser security message:
You may also encounter a browser security message, which can be resolved by installing the certificate .
Download certificate
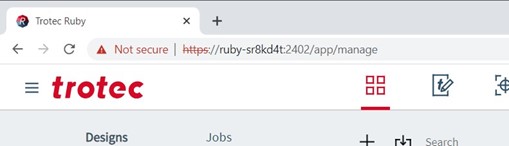
Download the recent certificate from the Certificate link in Ruby®. Therefore simply change the visible Ruby® URL from
Remote Access URL: https:// . . . . . . :2402/app/manage
to
Certificate URL: http:// . . . . . . :5000/certificate
Install certificate
For the installation of the certificate please have a look at the following links:
For further information please check our Ruby® help page
4. Import laser configuration into Ruby®
If Ruby® is installed on a PC that was previously running UMark the configuration will be imported automatically.
In case the configuration is not imported automatically, it can be initiated manually:
Access the hidden icons section of your PC and hover over the Ruby® icon to ensure connection.
If not connected, the icon will be greyed out.
Double-click the Ruby® icon on your desktop to set up the connection.
Before importing the configuration switch Laser mode to UMark first.
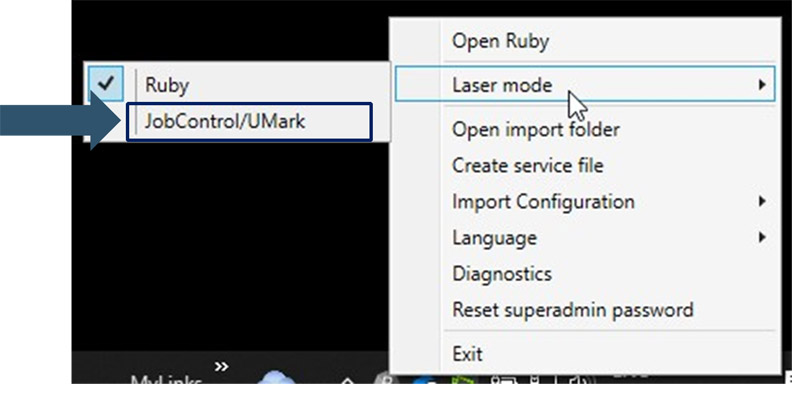
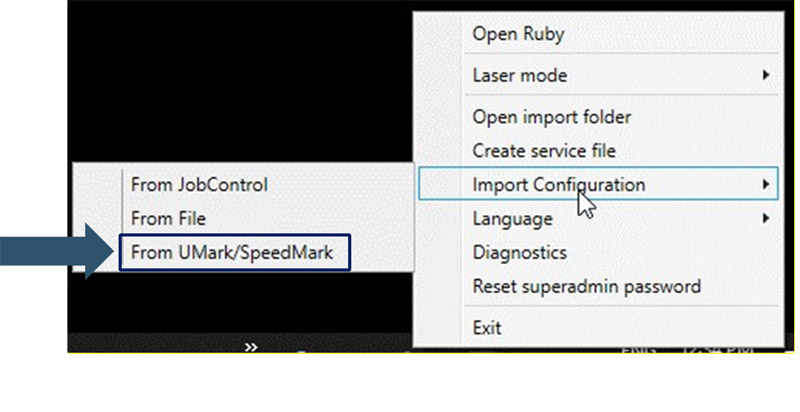
Right-click the icon to import the configuration from UMark into Ruby®.
After the configuration is completed the Laser Modus must be switched back to Ruby®
5. Ready to Use Ruby®
Ruby® is now configured and ready to be used with your laser machine.
If the U300 is connected to Ruby® can be seen on the Manage Screen:

Should you encounter any issues or require further assistance, refer to the provided resources or reach out to our support team for help.
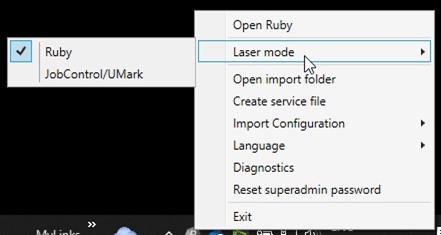
Switching between Ruby® and UMark
You have the flexibility to switch between Ruby® and UMark software.
To do so right-click the Ruby® icon in the hidden icon section to switch the laser mode between Ruby® and UMark.